React Environment Setup :
Method 1: Using create-react-app (CRA command)
Method 1: Using create-react-app (CRA command)
Step 1: Using create-react-app (CRA command)
Step 2: In the terminal of the application directory type the following command
npx create-react-app <<Application_Name>>Step 3: Navigate to the newly created folder using the command
cd <<Application_Name>>npx create-react-app <<Application_Name>>
Step 4: A default application will be created with the following project structure and dependencies
Application structure: It will install some packages by default which can be seen in the dependencies in package.json file as follows:
"dependencies": {
    "@testing-library/jest-dom": "^5.17.0",
    "@testing-library/react": "^13.4.0",
    "@testing-library/user-event": "^13.5.0",
    "react": "^18.2.0",
    "react-dom": "^18.2.0",
    "react-scripts": "5.0.1",
    "web-vitals": "^2.1.4"
}
Step 5: To run this application type the following command in terminal
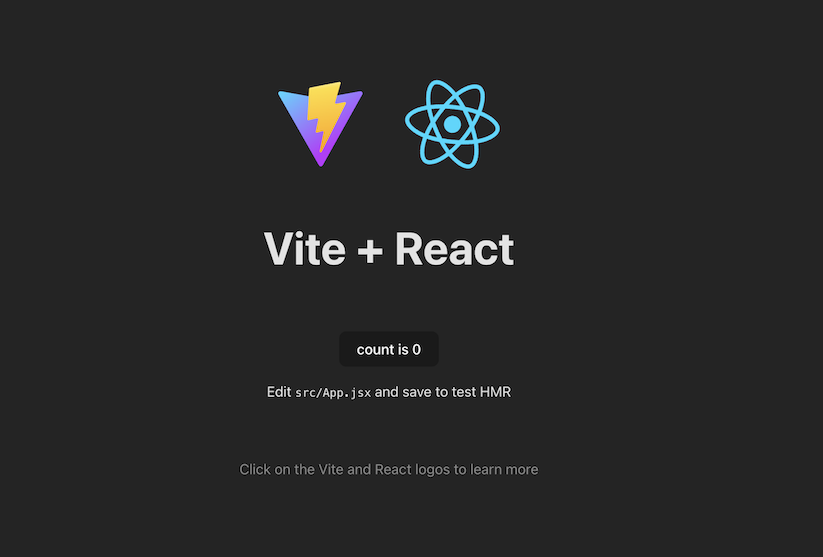
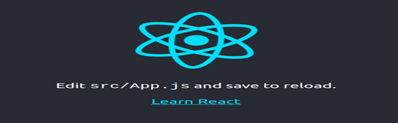
npm StartStep 6: The following output will be displayed in the browser
Method 2: Using Vite build tool
Step 1: Navigate to the folder where you want to create the project and open it in terminal
Step 2: In the terminal of the application directory type the following command.
npm create vite@latest <<Application_name>>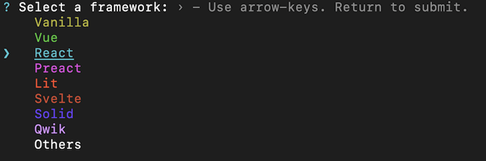

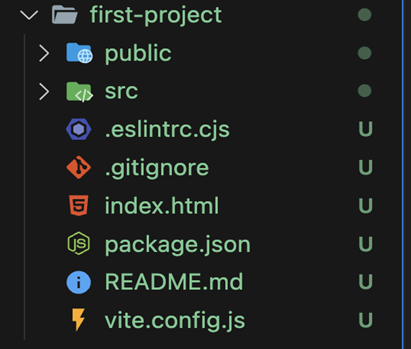
Step 3: Navigate to the newly created folder using the command.
cd <<Application_name>>now, we can see the basic project structure show in below image.
Step 4:Use the below command in terminal to install all required dependencies.
npm install
      OR
npm i
Step 5: To run the application use the following command in terminal.
npm run dev