About Lesson
Image Gallery
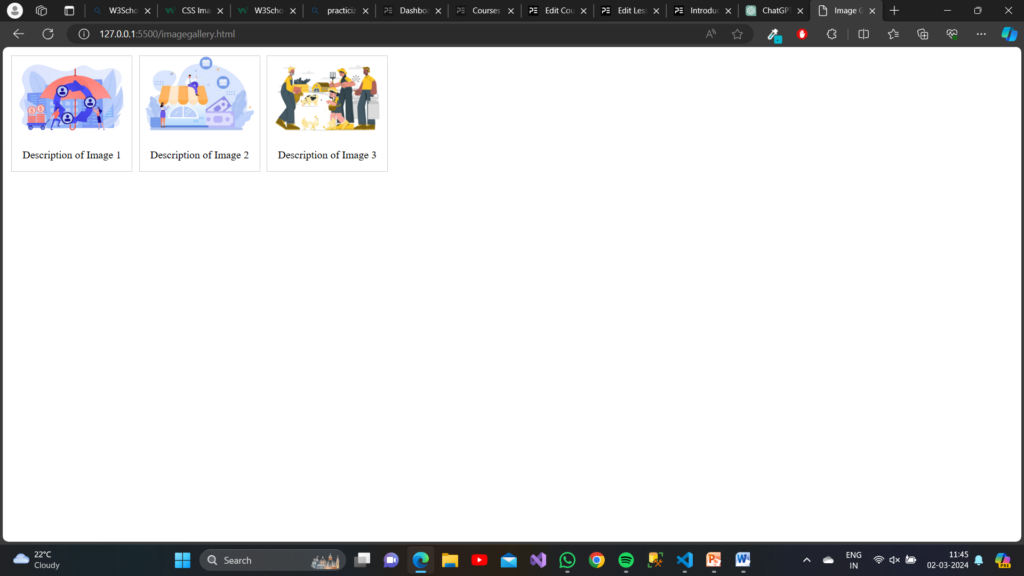
An image gallery is a collection of images displayed together in a structured manner, typically on a webpage. It allows users to view multiple images conveniently in one place.
Step 1: HTML Structure
- Start by creating an HTML file with a basic structure.
- Add a
<div>element with the class “gallery” to act as the container for your image gallery. - Inside the gallery container, create individual image elements using
<div>elements with the class “image”. - Each image element should contain an
<a>tag wrapping an<img>tag for displaying the image and a<div>element with the class “description” for the image description. - Each image element should contain an
<a>tag wrapping an<img>tag for displaying the image and a<div>element with the class “description” for the image description.
HTML
<!DOCTYPE html>
<html lang="en">

<head>
    <meta charset="UTF-8">
    <meta name="viewport" content="width=device-width, initial-scale=1.0">
    <title>Image Gallery</title>
    <link rel="stylesheet" href="style.css">
</head>

<body>
    <div class="gallery">
        <div class="image">
            <a target="_blank" href="_bharatlaghuudhyam.png">
                <img src="_bharatlaghuudhyam.png" alt="Image 1">
            </a>
            <div class="description">Description of Image 1</div>
        </div>
        <div class="image">
            <a target="_blank" href="_bharatsookshmaudhyam.png">
                <img src="_bharatsookshmaudhyam.png" alt="Image 2">
            </a>
            <div class="description">Description of Image 2</div>
        </div>
        <div class="image">
            <a target="_blank" href="_cattleinsurance.png">
                <img src="_cattleinsurance.png" alt="Image 3">
            </a>
            <div class="description">Description of Image 3</div>
        </div>
        <!-- Add more images as needed -->
    </div>
</body>

</html>
Step 2: CSS Styling
- Create a separate CSS file (style.css) to style the image gallery.
- Define styles for the gallery container, individual images, hover effects, image styling, and description styling.
CSS
/* image container */
.image {
    margin: 5px;
    border: 1px solid #ccc;
    float: left;
    width: 180px;
}

/* Hover effect on image*/
.image:hover {
    border: 1px solid #777;
}

/* Image styling */
.image img {
    width: 100%;
    height: auto;
}

/* Description styling */
.description {
    padding: 15px;
    text-align: center;
}
Output: