There are several ways you can style links to enhance their appearance and make them stand out.
links can be styled differently depending on what state they are in. The four primary states of links are defined by the pseudo-classes :link, :visited, :hover, and :active.
a:link– This pseudo-class targets unvisited links. It is used to style links that the user has not yet interacted with.a:visited– This pseudo-class targets visited links. It is used to style links that the user has already visited.a:hover-This pseudo-class targets links when the user hovers over them with the mouse pointer. It is used to apply styles when the user interacts with the link.a:active-This pseudo-class targets links while they are being clicked or activated. It is used to apply styles during the time a link is being actively engaged.
1. Color:
This property sets the color of the text. You can use it to define the color of regular, visited, active, and hover states.
Example:
<!DOCTYPE html>
<html lang=”en”><head>
<meta charset=”UTF-8″>
<meta name=”viewport” content=”width=device-width, initial-scale=1.0″>
<script src=”https://kit.fontawesome.com/ee7f5a487f.js” crossorigin=”anonymous”></script>
<style>
a:link {
color: blue;
}/* Visited link */
a:visited {
color: purple;
}/* Mouse over link */
a:hover {
color: red;
}/* Selected link */
a:active {
color: green;
}
</style>
<title>LINKS</title>
</head><body>
<a href=”https://www.google.com/”>GOOGLE</a>
<br>
<br>
<a href=”https://fontawesome.com”>Font Awesome</a></body>
</html>
Output:

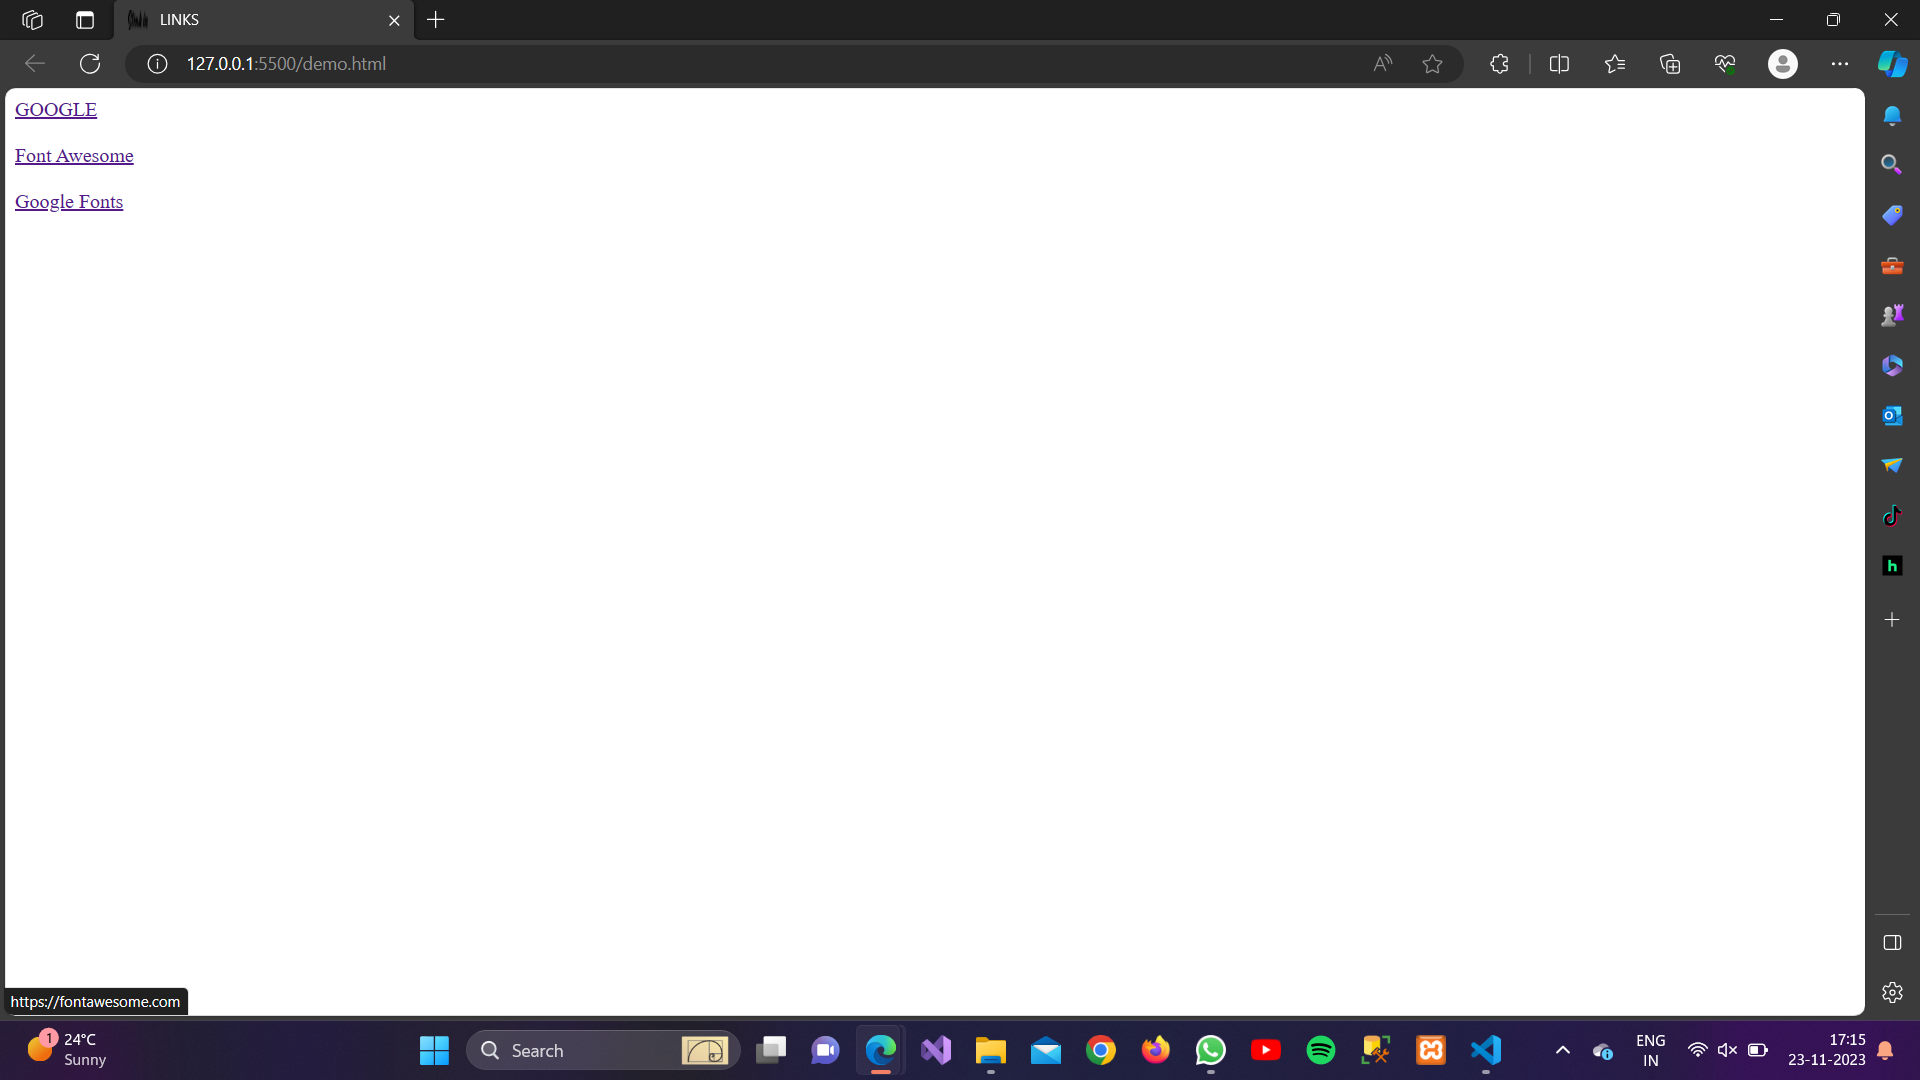
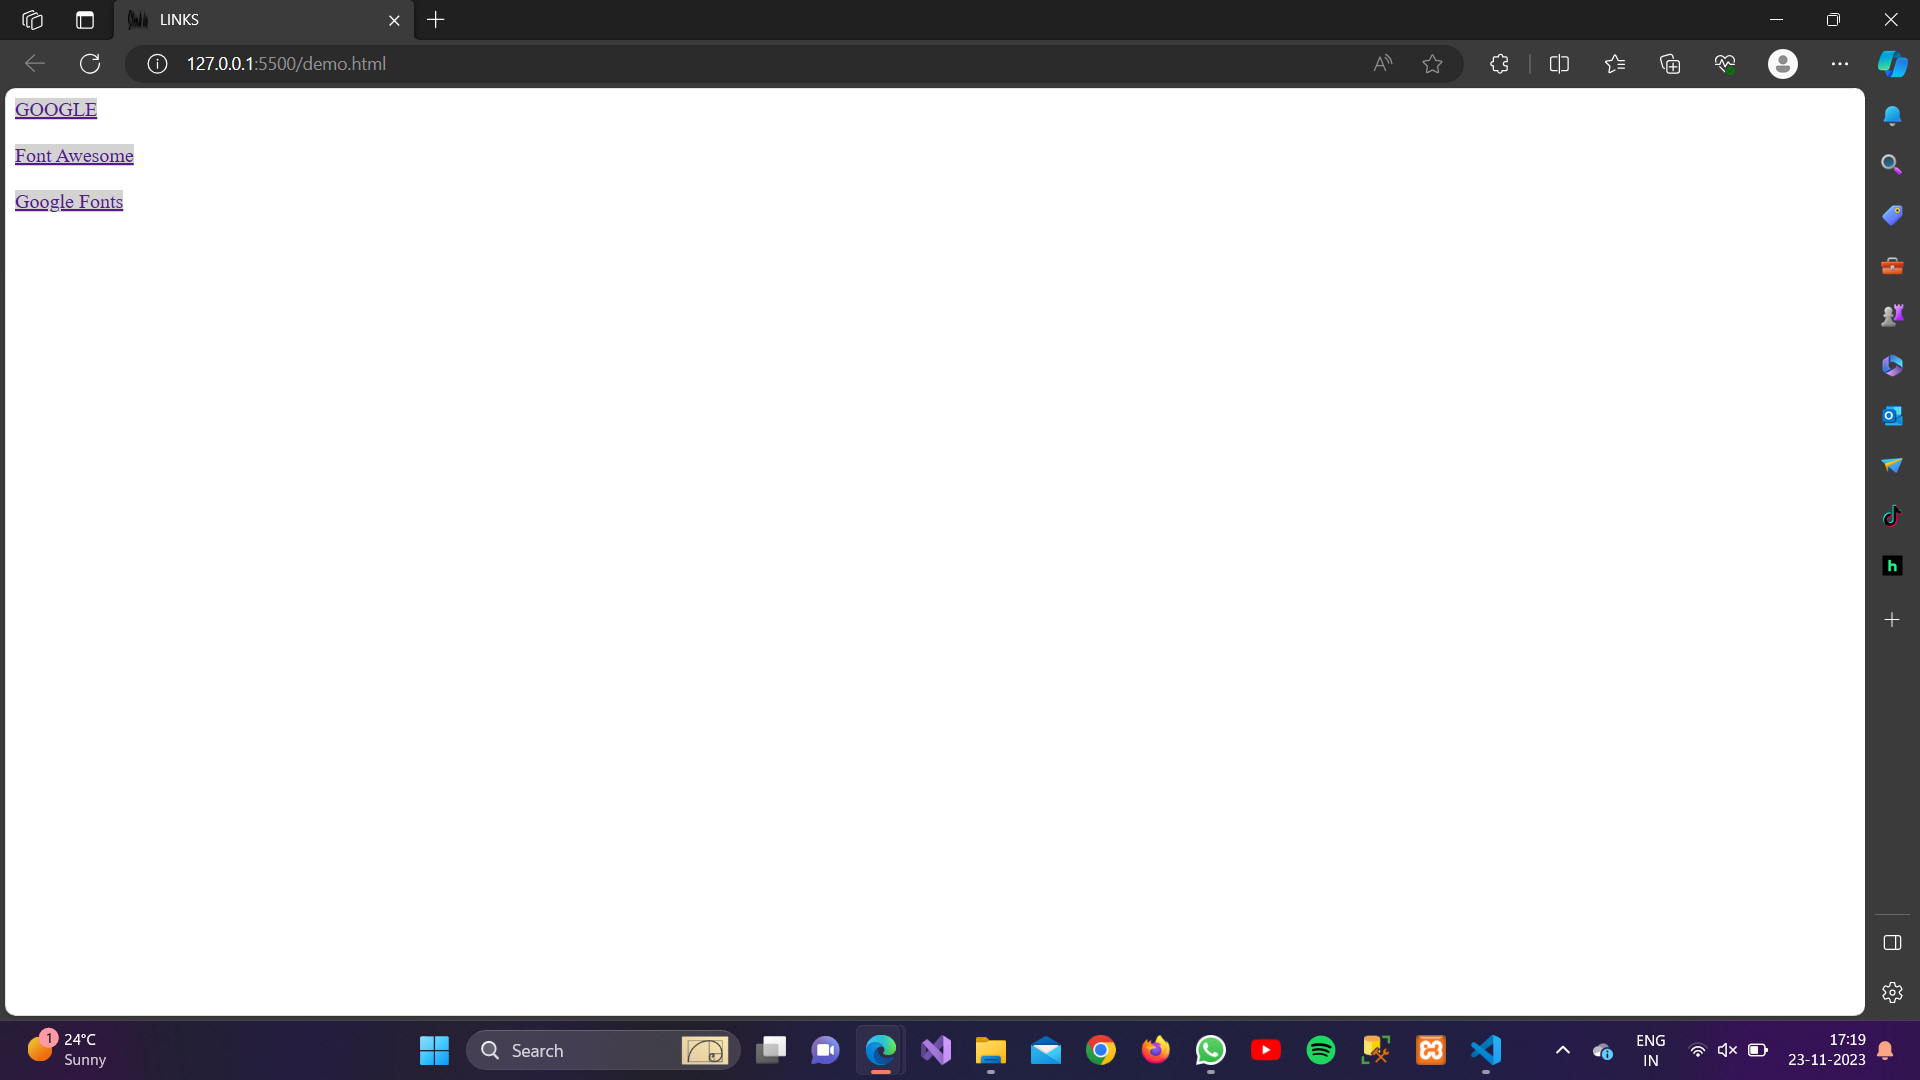
2. Text Decoration:
This property controls the decoration of the text, such as underlining.
Example:
<!DOCTYPE html><html lang=”en”><head><meta charset=”UTF-8″><meta name=”viewport” content=”width=device-width, initial-scale=1.0″><script src=”https://kit.fontawesome.com/ee7f5a487f.js” crossorigin=”anonymous”></script><style>/* Remove underlines from all links */a {text-decoration: none;}/* Underline only on hover */a:hover {text-decoration: underline;}</style><title>LINKS</title></head><body><a href=”https://www.google.com/”>GOOGLE</a><br><br><a href=”https://fontawesome.com”>Font Awesome</a><br><br><a href=”https://fonts.google.com”>Google Fonts</a></body></html>
Output:

3. Font-weight:
You can adjust the thickness of the font to make the link text bold or normal.
Example:
<!DOCTYPE html><html lang=”en”><head><meta charset=”UTF-8″><meta name=”viewport” content=”width=device-width, initial-scale=1.0″><script src=”https://kit.fontawesome.com/ee7f5a487f.js” crossorigin=”anonymous”></script><style>/* Make links bold */a {font-weight: bold;}</style><title>LINKS</title></head><body><a href=”https://www.google.com/”>GOOGLE</a><br><br><a href=”https://fontawesome.com”>Font Awesome</a><br><br><a href=”https://fonts.google.com”>Google Fonts</a></body></html>
Output:

4. Cursor:
This property defines the type of cursor to be displayed when hovering over a link.
Example:
<!DOCTYPE html><html lang=”en”><head><meta charset=”UTF-8″><meta name=”viewport” content=”width=device-width, initial-scale=1.0″><script src=”https://kit.fontawesome.com/ee7f5a487f.js” crossorigin=”anonymous”></script><style>/* Change cursor to a pointer on hover */a:hover {cursor: pointer;}</style><title>LINKS</title></head><body><a href=”https://www.google.com/”>GOOGLE</a><br><br><a href=”https://fontawesome.com”>Font Awesome</a><br><br><a href=”https://fonts.google.com”>Google Fonts</a></body></html>
Output:
5. Background-color:
You can set a background color for links.
Example:
<!DOCTYPE html><html lang=”en”><head><meta charset=”UTF-8″><meta name=”viewport” content=”width=device-width, initial-scale=1.0″><script src=”https://kit.fontawesome.com/ee7f5a487f.js” crossorigin=”anonymous”></script><style>/* Change cursor to a pointer on hover */a:hover {background-color: lightgray;}</style><title>LINKS</title></head><body><a href=”https://www.google.com/”>GOOGLE</a><br><br><a href=”https://fontawesome.com”>Font Awesome</a><br><br><a href=”https://fonts.google.com”>Google Fonts</a></body></html>
Output:
6. Transition:
You can set a background color for links.
Example:
<!DOCTYPE html><html lang=”en”><head><meta charset=”UTF-8″><meta name=”viewport” content=”width=device-width, initial-scale=1.0″><script src=”https://kit.fontawesome.com/ee7f5a487f.js” crossorigin=”anonymous”></script><style>/* Add a smooth color transition on hover */
a {
transition: color 0.3s ease-in-out;
}</style><title>LINKS</title></head><body><a href=”https://www.google.com/”>GOOGLE</a><br><br><a href=”https://fontawesome.com”>Font Awesome</a><br><br><a href=”https://fonts.google.com”>Google Fonts</a></body></html>
Output:
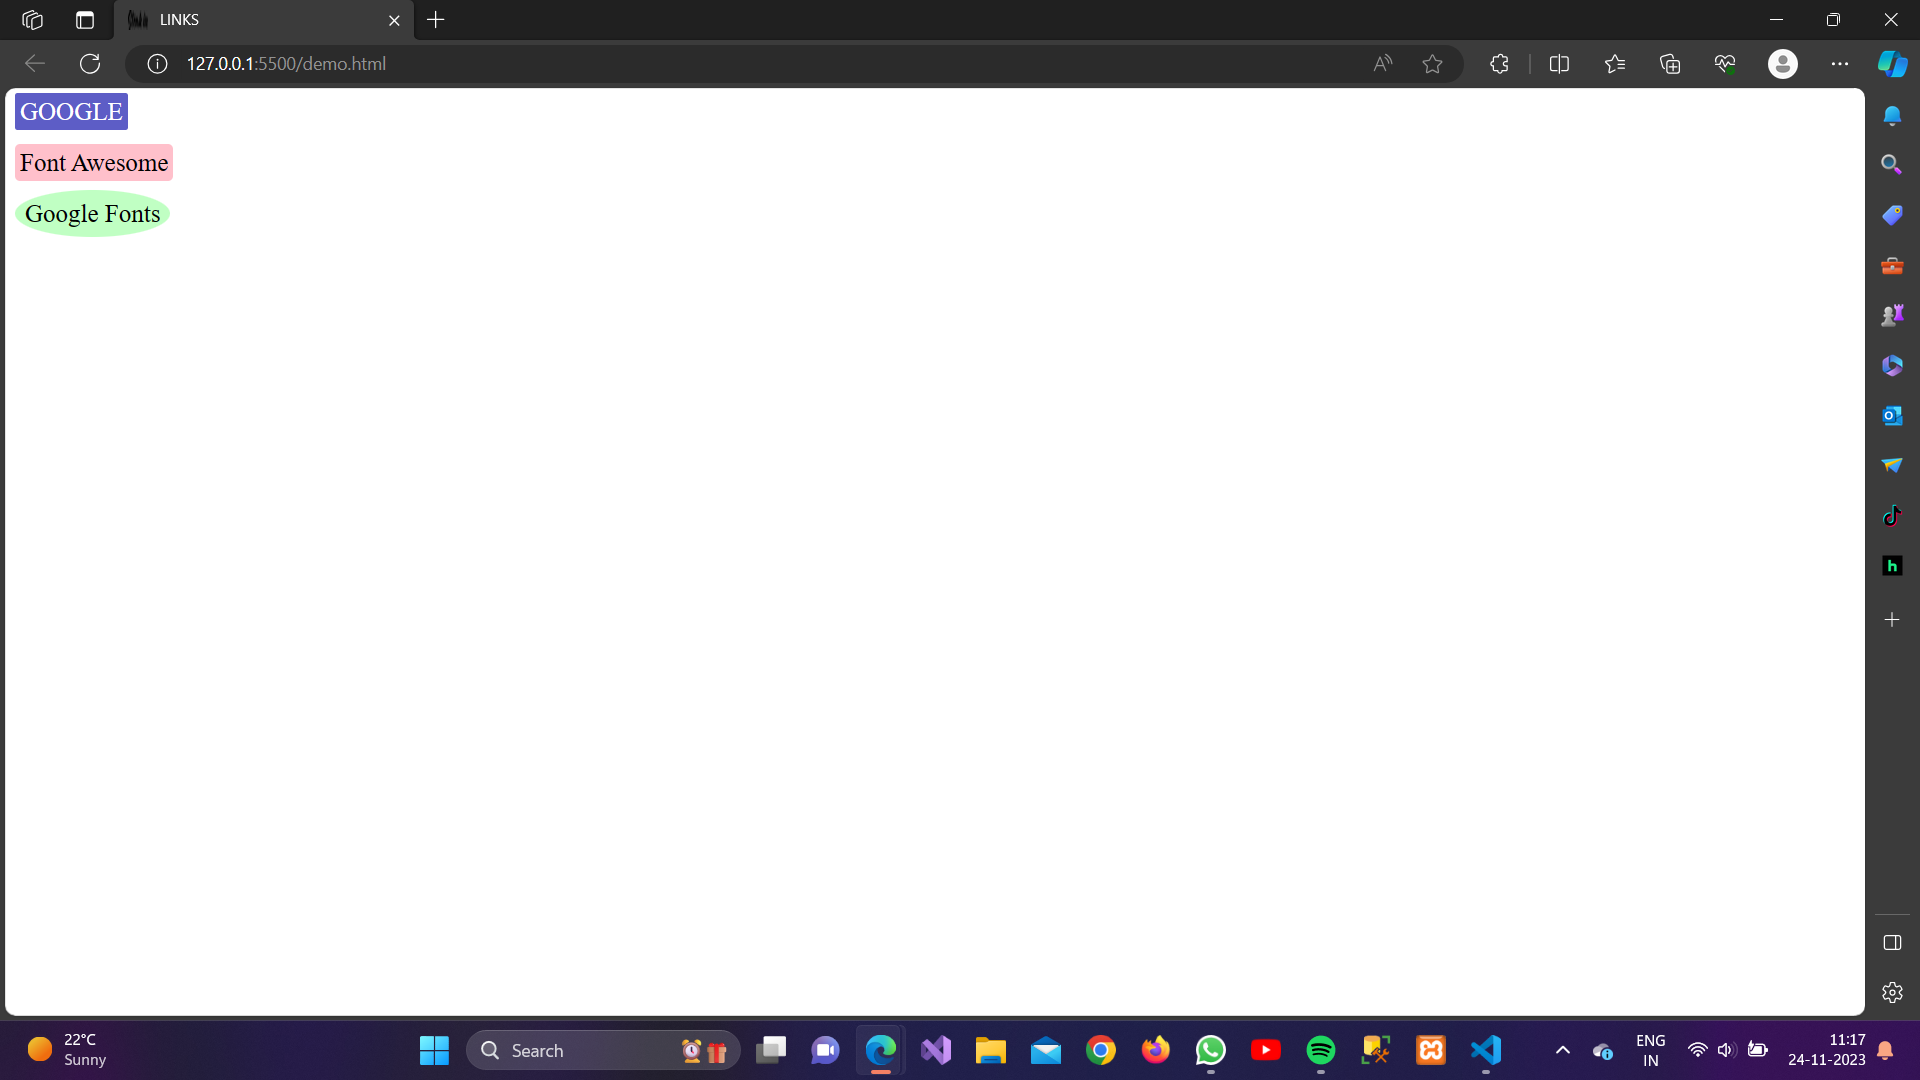
6. Change Links into Buttons:
You can also change links into buttons shape by applying different CSS Properties like text-decoration, color, background color, padding, border-radius, etc.
Example:
<!DOCTYPE html><html lang=”en”><head><meta charset=”UTF-8″><meta name=”viewport” content=”width=device-width, initial-scale=1.0″><script src=”https://kit.fontawesome.com/ee7f5a487f.js” crossorigin=”anonymous”></script><style>.blue {background-color: rgb(93, 93, 198);color: white;text-decoration: none;padding: 4px;border-radius: 2px;font-size: 20px;}.pink{background-color: pink;color: black;text-decoration: none;padding: 4px;border-radius: 4px;font-size: 20px;}a{background-color: rgb(192, 255, 195);color: black;text-decoration: none;padding: 8px;border-radius: 50%;font-size: 20px;}</style><title>LINKS</title></head><body><a class=”blue” href=”https://www.google.com/”>GOOGLE</a><br><br><a class=”pink” href=”https://fontawesome.com”>Font Awesome</a><br><br><a href=”https://fonts.google.com”>Google Fonts</a></body></html>
Output: