About Lesson
The CSS float property is used to specify whether an element should be floated to the left or right side of its containing element. Floating an element allows it to be moved to one side, and the content that follows it will flow around it.
Types of Float:
- float: left; : Floats the element to the left.
- float: right; : Floats the element to the right.
- float: none; : The default value, meaning no floating. The element will be placed in the normal flow of the document.
Note: It’s important to note that when using floats, you might need to clear them to prevent layout issues. Clearing can be done using the clear property on a subsequent element.
Keep in mind that the use of floats has become less common in modern web development with the advent of more robust layout systems like Flexbox and CSS Grid. These newer approaches provide more control over layouts and are generally preferred over using floats for complex designs.
Example:
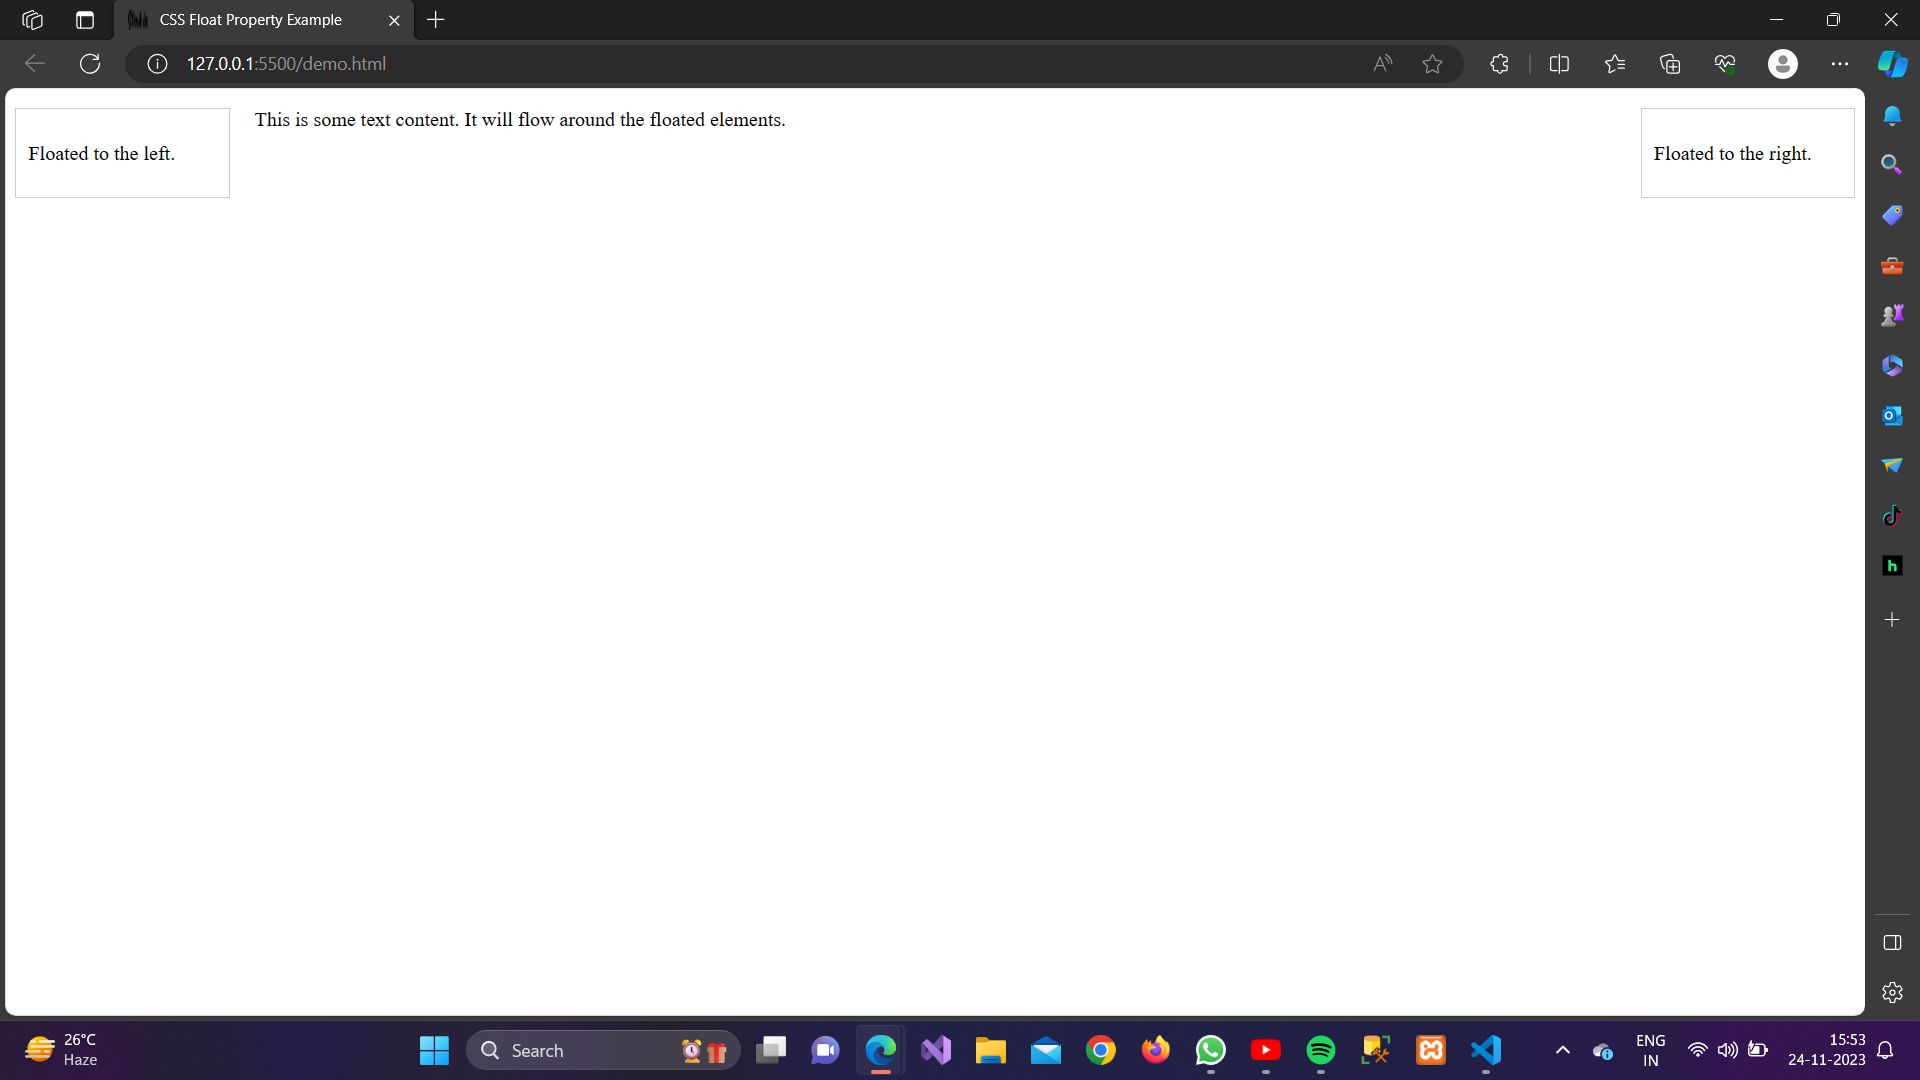
<!DOCTYPE html><html lang=”en”><head><meta charset=”UTF-8″><meta name=”viewport” content=”width=device-width, initial-scale=1.0″><style>.float-left {float: left;width: 150px;margin-right: 20px;border: 1px solid #ccc;padding: 10px;}.float-right {float: right;width: 150px;margin-left: 20px;border: 1px solid #ccc;padding: 10px;}</style><title>CSS Float Property Example</title></head><body><div class=”float-left”><p>Floated to the left.</p></div><div class=”float-right”><p>Floated to the right.</p></div><p>This is some text content. It will flow around the floated elements.</p></body></html>
In this example:
.float-leftand.float-rightclasses use thefloatproperty to float elements to the left and right, respectively.- The
width,margin,border, andpaddingproperties are used to control the size and spacing of the floated elements. - The text content after the floated elements flows around them
Output:

