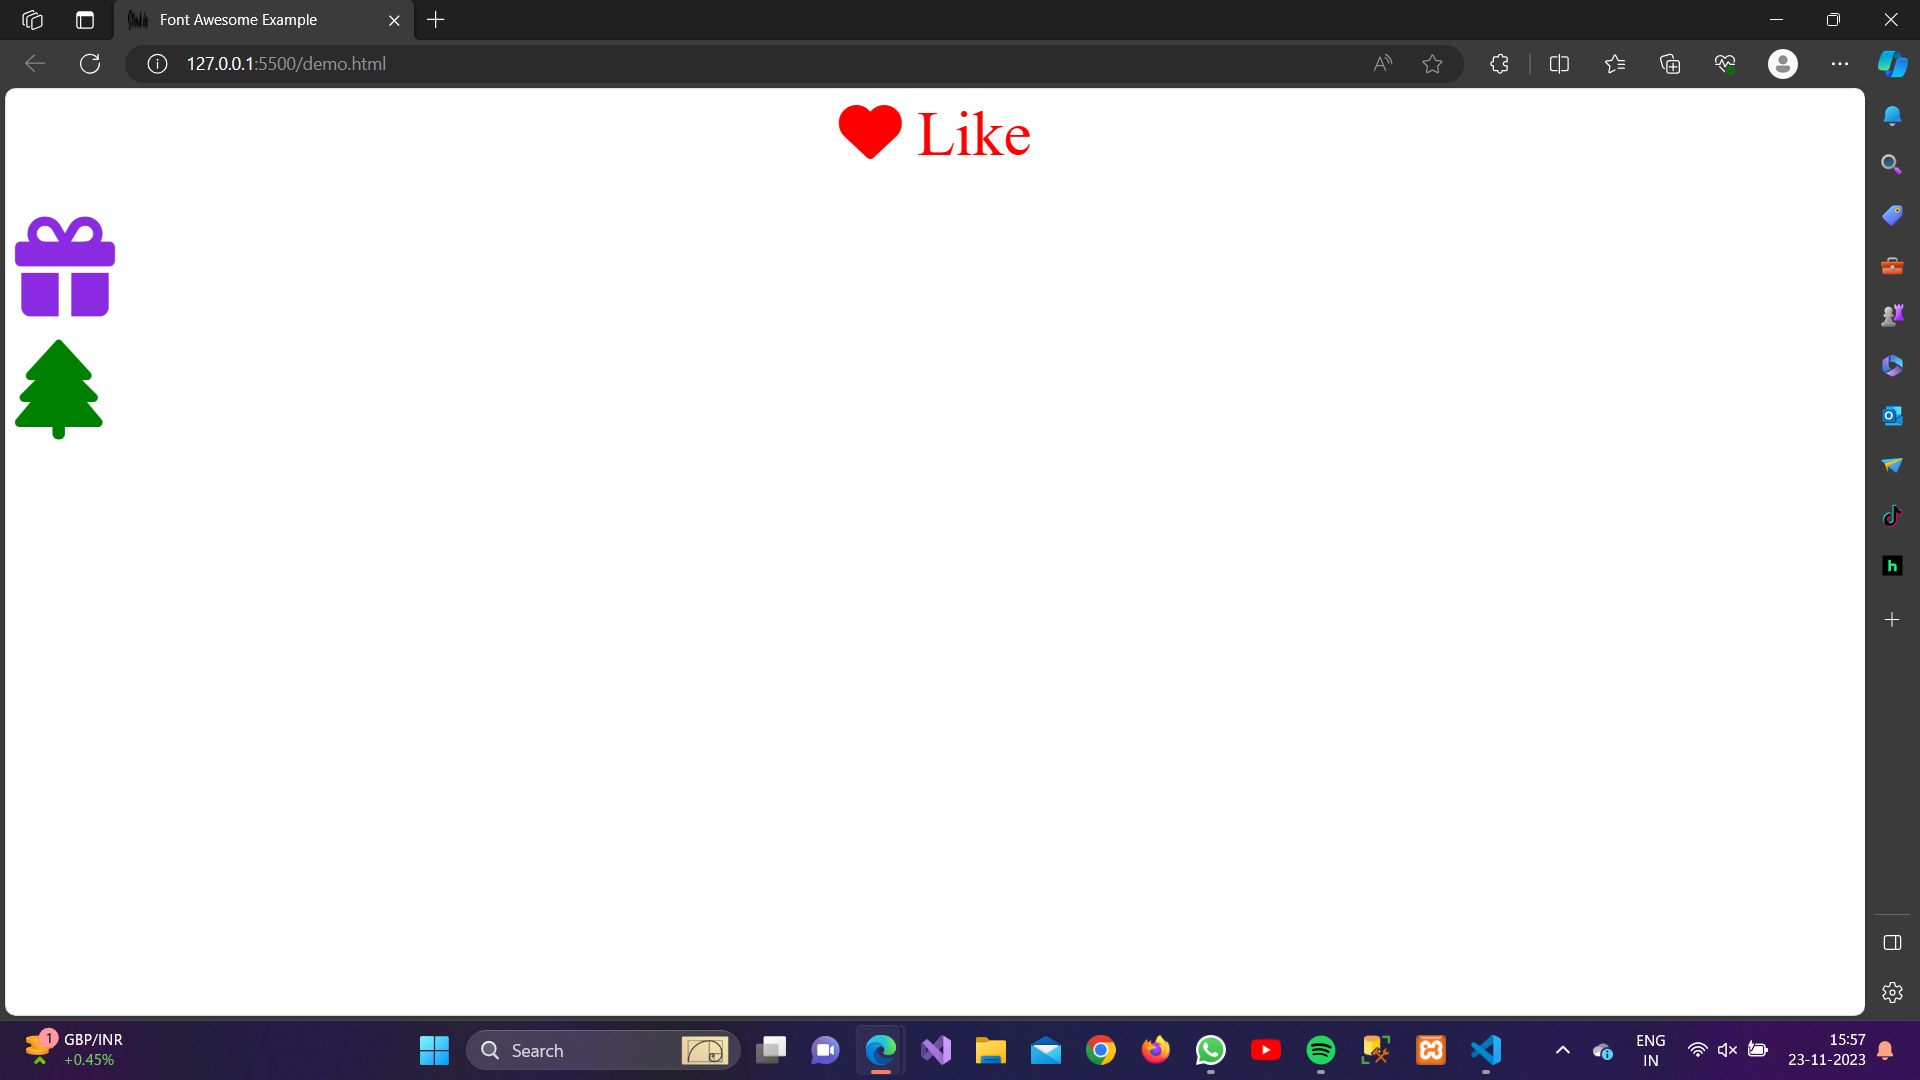
We can Add icons to our HTML Page by using Icon Library. https://fontawesome.com is one of the famous library used to add icons in HTML & CSS.
Steps to Add Icons using Font Awesome Icons:
Before Adding Icon kits you need to create a free Icons kit in Font Awesome Icons by login in https://fontawesome.com
Add a Font Awesome Kit using just one line of javascript.
<!DOCTYPE html><html lang=”en”><head><meta charset=”UTF-8″><meta name=”viewport” content=”width=device-width, initial-scale=1.0″><script src=”https://kit.fontawesome.com/ee7f5a487f.js” crossorigin=”anonymous”></script><title>Font Awesome Example</title></head><body><!– Your content goes here –></body></html>In this step, we include the Font Awesome CSS file in the
<head>of our HTML document using a CDN. This file contains styles for all the Font Awesome iconAdd Font Awesome Icon to HTML
<body><div class=”icon-container”><i class=”fas fa-heart”></i><span>Like</span></div><br><br><i class=”fa-solid fa-gift” id=”gift”></i><br><br><i class=”fa-solid fa-tree” id=”tree”></i></body>Here, we’ve added different icons like heart icon, gift icon, tree icon inside the body.
Style the Icon Container (Optional)
<style>.icon-container {color: red;font-size: 50px;text-align: center;}#gift {color: blueviolet;font-size: 80px;}#tree{color: green;font-size: 80px;}</style>You can style the icons using CSS to control its appearance. In this example, we’ve used text-align to align center or we can change the color of icons also.
Output:

